2020 Kawasaki KLX140 Oil and Filter Change - Page 3
Previous
Oil Filter Replacement
10. Reposition the oil drain pan or pail to below the oil filter cover.
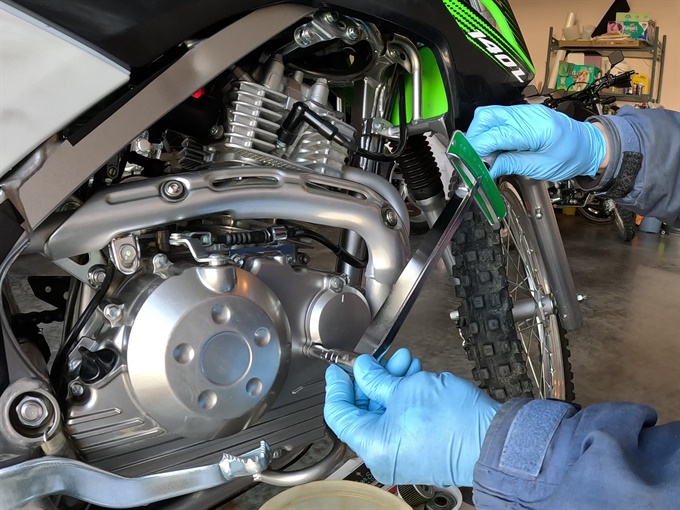
11. Tape some newspaper to just below the oil filter cover to redirect any escaping oil to the pail. This helps to reduce the amount mess.
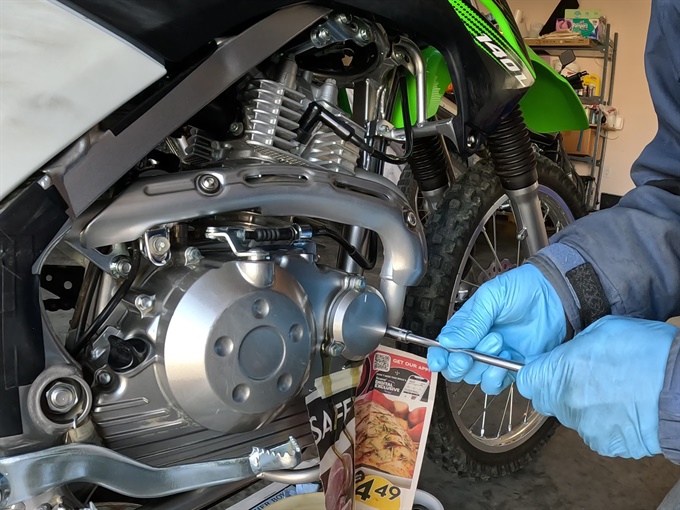
12. Remove the oil filter cover. With an 8 mm socket, an extension (I use a 6-inch one) and ratchet (I use a 1/4-inch drive), loosen the three bolts securing the oil filter cover on the right side engine cover. Oil will likely dribble out. Completely remove the three bolts while holding the cover in place so that it doesn't slip off and fall. There is a spring between the cover and the oil filter; it usually comes off with the cover. Be careful not to lose the spring. There is also an O-ring set in a groove of the oil filter cover. Remove the cover.
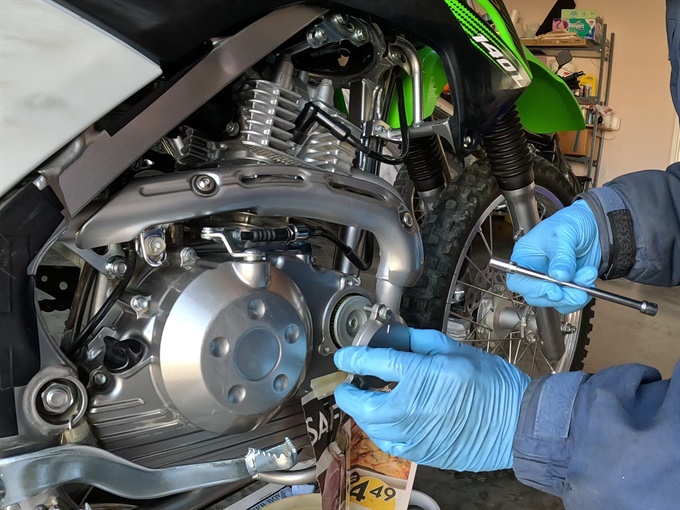
13. Remove the oil filter from the engine and inspect it for debris. It's normal for it to look dark and contain very tiny metallic bits (sparkles) and sometimes a bit of sealant (grey or black). If you find other material or large metal bits, etc., it may be an indication of a problem in the engine. It may also be clutch material or debris left over from the manufacturing process. If you're unsure or concerned, take the oil filter and material to the service department at a trusted bike shop for their opinion.
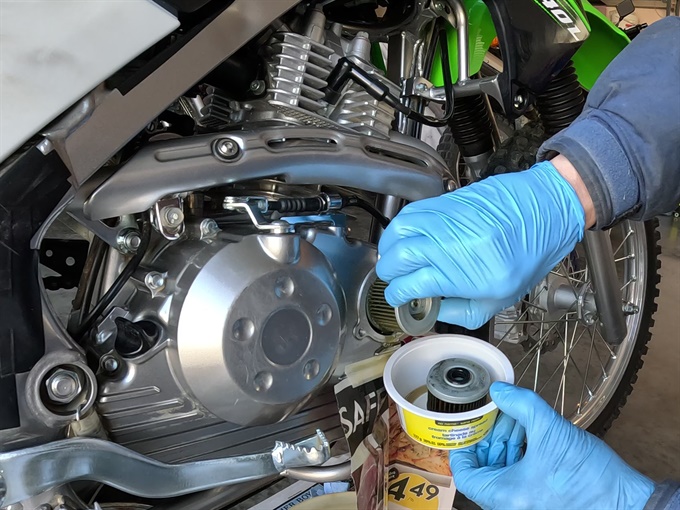
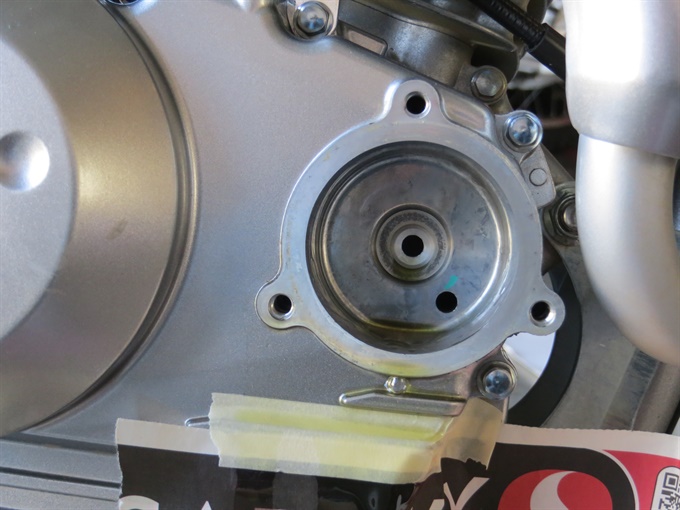
14. Remove the O-ring from the oil filter cover. Clean the groove that the O-ring sits in as well as the surface of the filter cover that makes contact with the engine. Wipe off the O-ring and inspect it. If it looks to be in good condition (no signs of damage or deterioration, and it is still pliable), you can likely reuse it although the service manual states to use a new one. I advise to replace it at some point. The service manual states to apply grease to the O-ring. Insert the O-ring into the groove of the oil filter cover and set it aside.
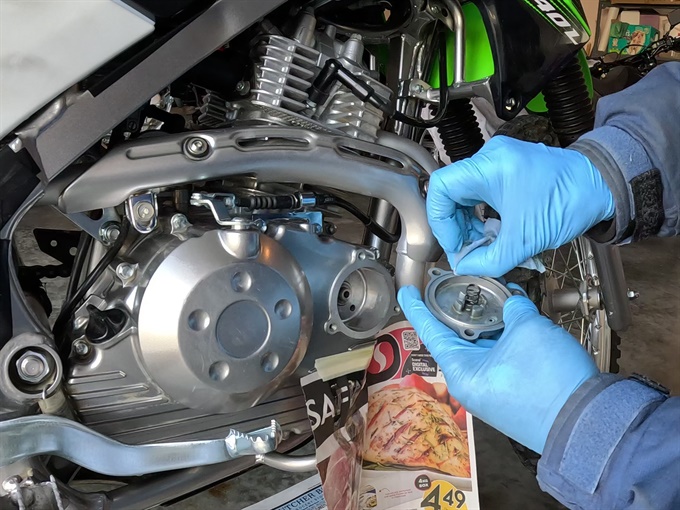
15. If there is oil in the oil filter cavity, you can tip the bike to the right side to allow it to drain out. With a clean rag or shop towel, wipe out any sediment from the oil filter cavity. Wipe the oil filter cover sealing surface of the engine. Also clean the heads of the oil filter cover bolts (the surface that make contact with the filter cover).
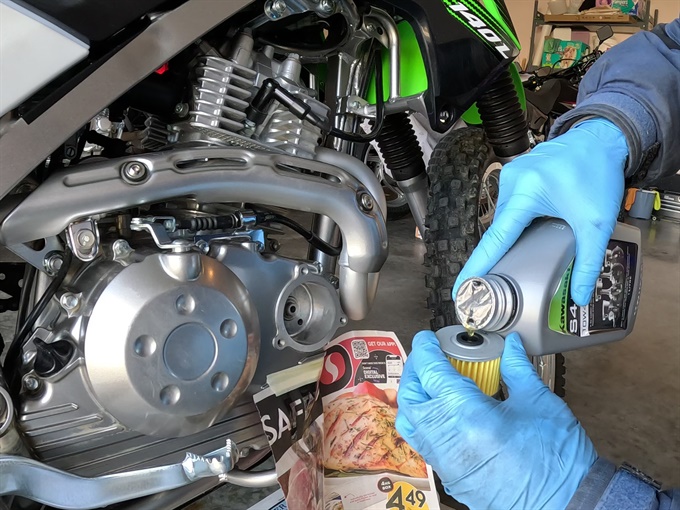
16. I choose to pour clean motorcycle oil into the new oil filter (nearly fill it up) to prime it somewhat; some people say not to do this because the oil has not been filtered. I would think that new oil right out of the bottle is likely cleaner than it will ever be, but you decide. Next, insert the filter into the engine with the hole and grommet facing inwards to the engine. The grommet (seal) fits over a protrusion at the back of the oil filter cavity. The service manual states to oil the grommet before inserting the filter into the engine (likely there will be oil on the grommet after pouring oil into the filter, and unless you wiped off the protrusion in the back of oil filter cavity that the grommet goes over, there should be oil on that too).
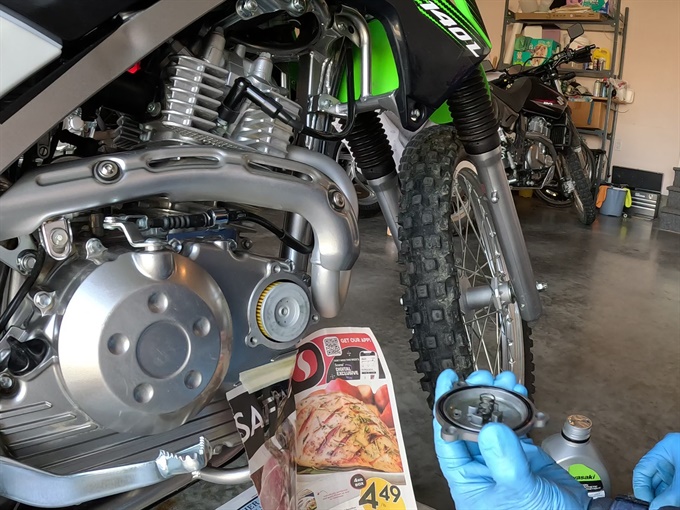
17. Ensure that the O-ring and spring are in position in/on the oil filter cover. If you elected to not apply grease to the O-ring, apply a thin coat of engine oil to it, and then place the oil filter cover over the oil filter with the small pointer facing upwards. Insert and hand-tighten the three bolts that secure the oil filter cover.
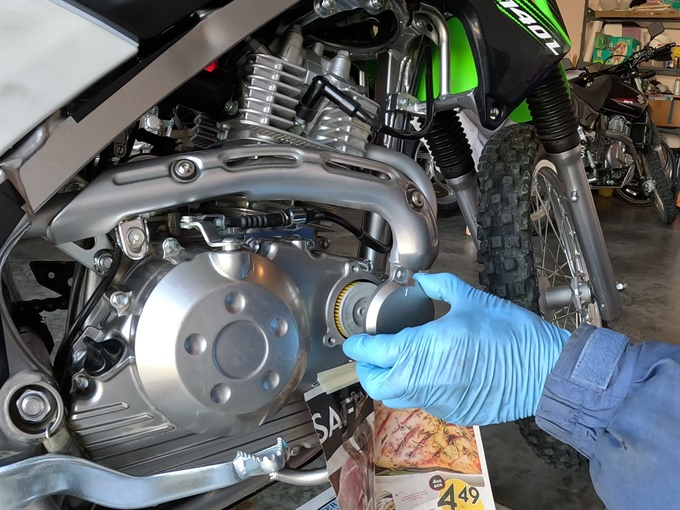
18. With an accurate torque wrench, tighten each bolt to 4 to 5 N.m. Then tighten each bolt to 8.8 N.m (service manual torque specification). I tighten the bolts to slightly less, about 8 to 8.5 N.m.
Add Oil To Engine And Check The Level
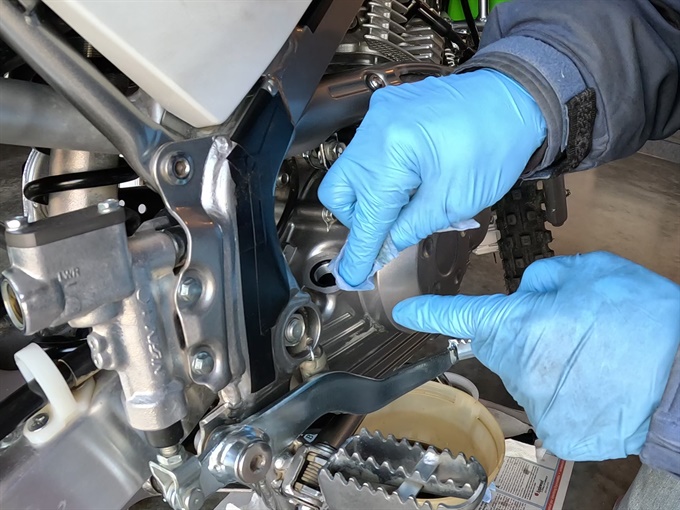
19. Remove the oil filler cap/dipstick. There is an O-ring which may stay with the cap or may stay with the engine. Clean around the edge of the cap and the oil filler hole. Also, clean and inspect the O-ring. Replace the O-ring if it's deteriorated or if oil has been leaking past it.
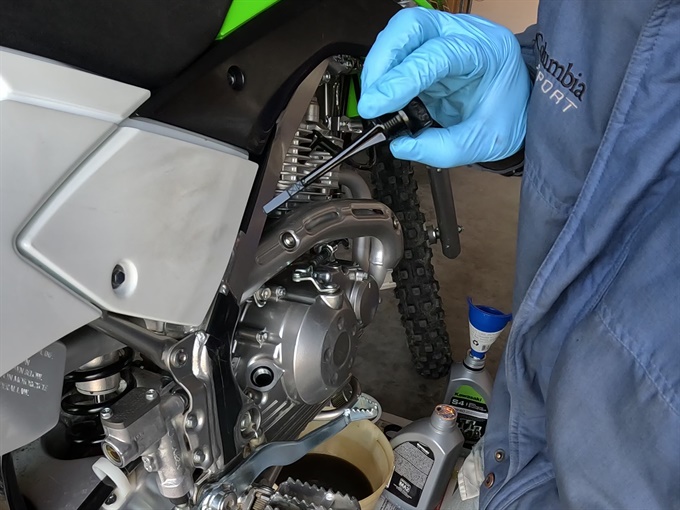
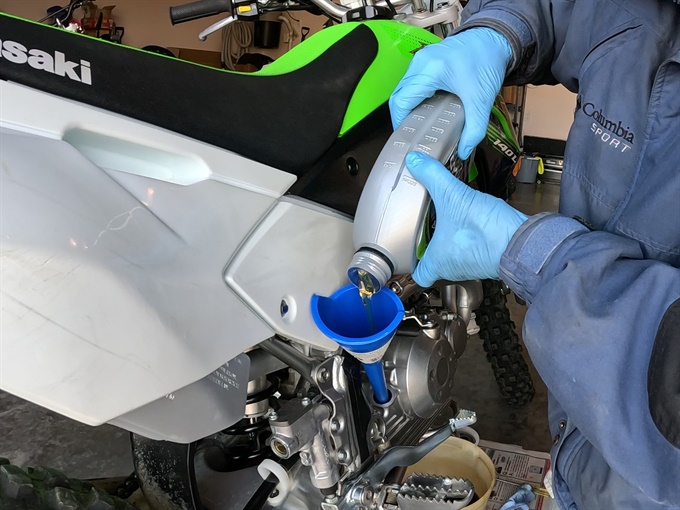
20. Using a clean funnel, pour the recommended oil into the engine up to the full mark (see page 1 on how to check the oil level). Do not overfill the engine; if you do overfill the engine with oil by accident, remove the excess through the oil filler hole with syringe, or by carefully draining some oil out through the oil drain hole (remember to properly tighten the oil drain plug afterwards). If there is too much oil in the engine, it may become aerated (full of bubbles) and the oil lubrications system may be less effective. Also, crankcase pressure may become excessive leading to oil leaks.
21. Install the oil cap/dipstick with its O-ring. Clean up any spills or mess on the bike.
22. Start the engine and run it at idle speed for a few minutes to circulate the fresh oil and to check for oil leaks.
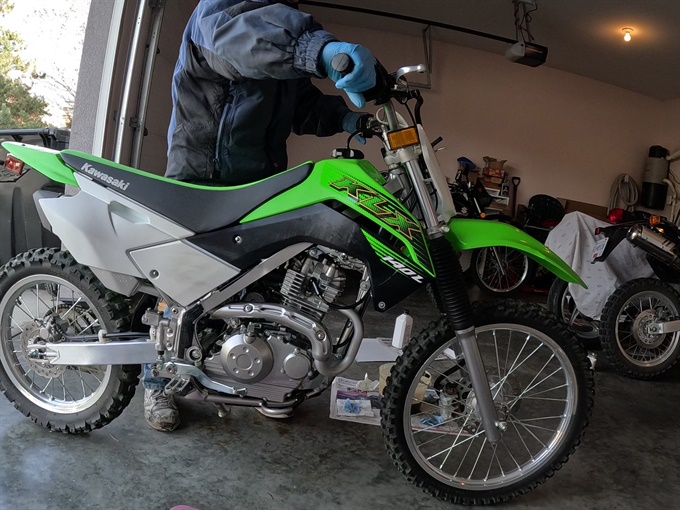
23. Stop the engine. Wait for several minutes, and then check the oil level. Add oil to bring the level to the upper (max) level if it's below it.
24. Clean up. Pour used oil into containers. Examine the bottom of the drain pan or pail for possible debris from the engine. Dispose of the used oil responsibly (take it to a recycling facility or depot).
All done!
Previous