2020 Kawasaki KLX140 Air Filter Service - Page 1
Applicable to all KLX140 versions from 2010 onwards (see below)
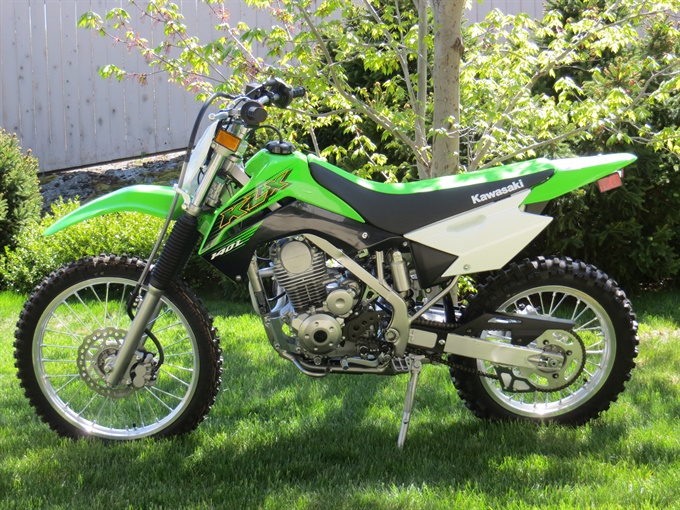
KLX140 Air Filter Service Video
Article Last Updated: Dec 14, 2023
Next
This is a step-by-step guide to servicing the air filter on a Kawasaki KLX140. It is based on the author’s observations and experience servicing the air filter on a 2020 Kawasaki KLX140L and on information contained in the official Kawasaki KLX140 service manual, 2020 (part no. 99924-1390-14) which covers model years 2010 - 2021, and models KLX140A/KLX140/KLX140R, KLX140B/KLX140L/KLX140RL and KLX140C/KLX140G/KLX140RF. The author is not aware of any mechanical changes to the KLX140 models for the model years 2022-2024, so this guide should apply to those as well. The general procedures in this guide should be applicable to many other motorcycles too.
By performing the air filter service yourself, you can save some money, learn more about your bike and gain the satisfaction of maintaining your bike yourself. There is nothing technically challenging about the procedure. Use the correct tools and supplies for the job, and take your time. Read all of the instructions before beginning.
Disclosure: While the author has attempted to provide correct and complete information, sometimes errors or omissions may occur. By using this document and following the procedures and advice below, the user assumes all risk and responsibility for injury or damage to their motorcycle. The author has been servicing motorcycles for many years (not as a profession) and is mostly self-taught (no formal training in motorcycle servicing). It is recommended that you consult the Kawasaki KLX140 owner’s manual and/or service manual.
Parts and supplies you may need
- air filter oil and/or motor oil (the service manual states to use foam-air-filter oil)
- air filter cleaning detergent or kerosene, depending on the type of air filter "oil" used (the service manual states to use high flash point solvent)
- a container to clean the air filter in (plastic tub or bucket) if using solvent
- a second container to clean the air filter in soapy water if initially using solvent
- possibly a clean container (or zip-lock bag) for oiling the cleaned air filter
- multi-purpose grease or special air filter "grease" for coating the contact surfaces between air filter and air box
- dish soap (or other detergent) for a second stage cleaning of the air filter (after using kerosene)
- shop towels, clean rags
- disposable gloves
Tools you need or may find helpful
- 8 mm socket
- 3-inch or 6-inch extension
- ratchet (1/4 inch drive)
Service manual instructions
Kawasaki recommends cleaning the air filter initially at 5 hours or one month, and every 50 hours or 6 months (or more frequently if riding in dusty conditions). Replace the filter if there is evidence of damage or deterioration. The life of the engine largely depends on this component.
Remove the left side cover. Remove the air box cover. Remove the air filter by first removing the wing bolt.
Stuff a clean, lint-free cloth into the carburetor so no dirt is allowed to enter the carburetor. [Author's note: you won't be able to do this without removing the inner plate because the backfire screen is blocking access to the carburetor. Just be careful to not get dirt in the clean area (behind the air filter).]
Clean the inside of the air box with a clean damp cloth.
Separate the element from the frame.
Clean the element in a bath of high flash-point solvent using a soft bristle brush. [Author's note: I don't use a brush.]
Squeeze it dry in a clean towel. Do not wring the element or blow it dry; the element can be damaged.
Check all parts of the element for visible damage. If any part of the filter is damaged, replace it.
After cleaning, saturate the element with high quality foam-air-filter oil, squeeze out the excess, then wrap it in a clean towel and squeeze it as dry as possible. Be careful not to tear the filter.
Assemble the element (?).
Remove the towel from the carburetor. [Author's note: this step is not applicable unless you removed the inner plate.]
Apply grease to all connections and screw holes in the air cleaner housing and intake tract.
Install the element onto its frame, and coat the element lip and lip seat with a thick layer of all-purpose grease to assure a complete seal.
Install the air cleaner element and install and tighten the wing bolt.
Install the air box cover and side cover.
Go to the next page for more detailed instructions and photos.
Next