2020 Kawasaki KLX140 Air Filter Service - Page 2
Previous
Road and Trail guide
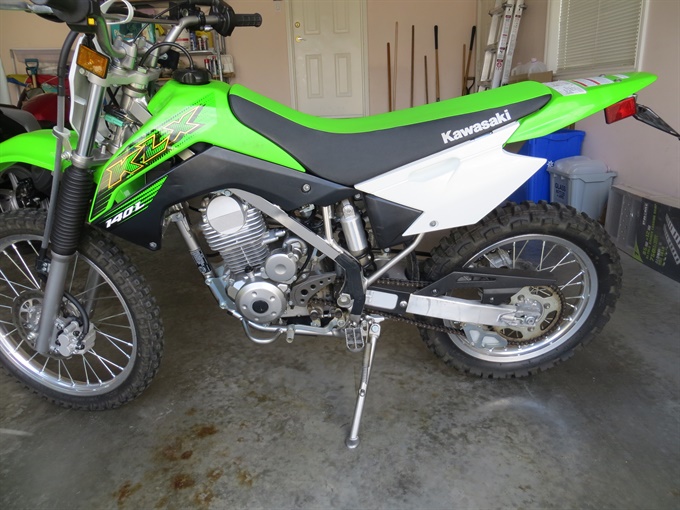
If the motorcycle is dirty, I recommend that you wash it first.
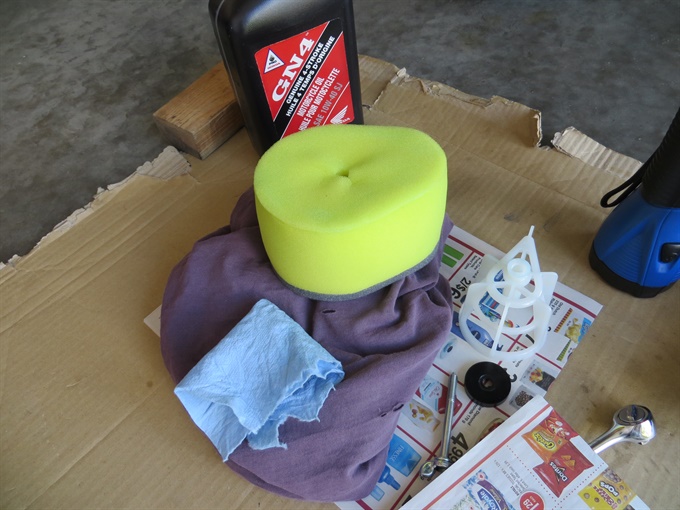
1. Gather your tools and supplies.
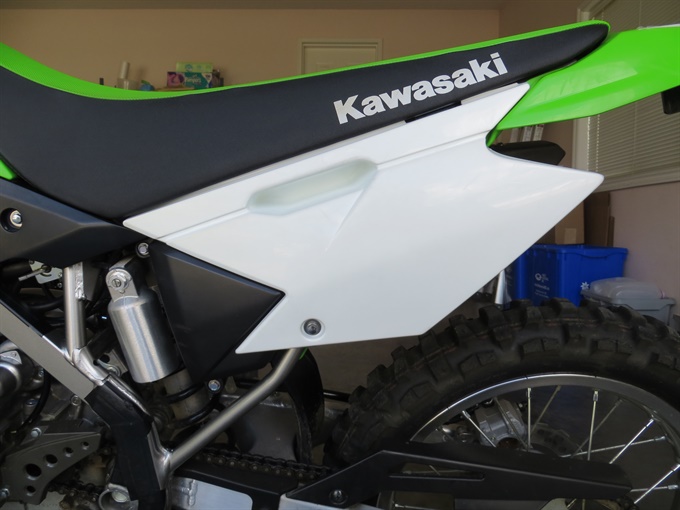
2. Remove the left side cover. There is a single bolt (8mm head) and a rubber grommet.
3. Clean around the outside of the air box.
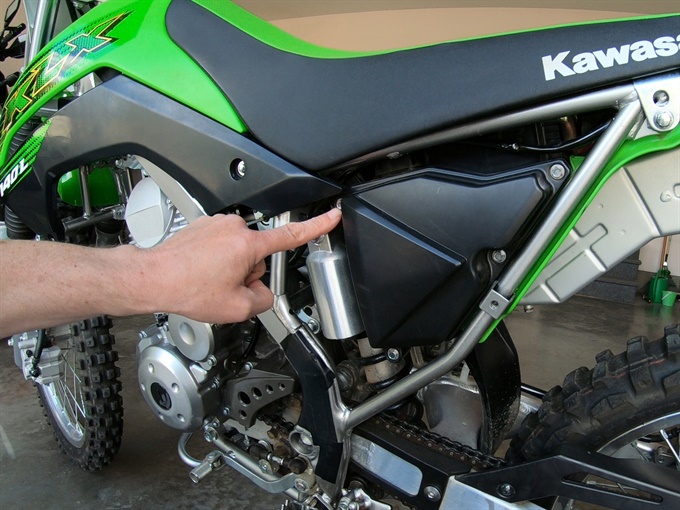
4. Remove the air box cover by first removing the 4 bolts (8 mm head) securing it.
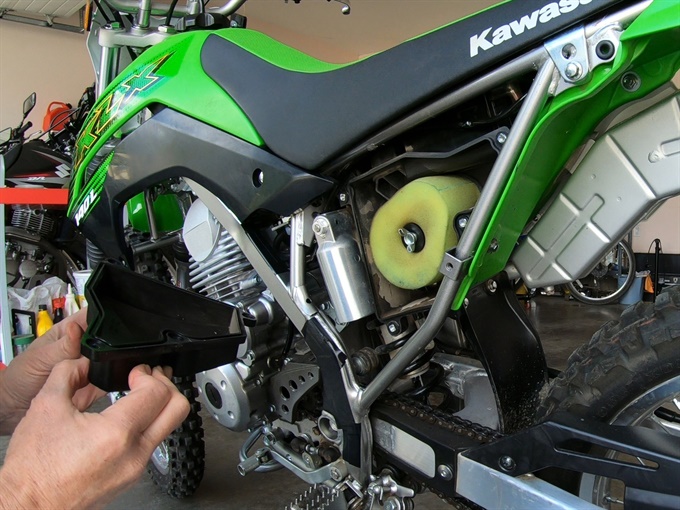
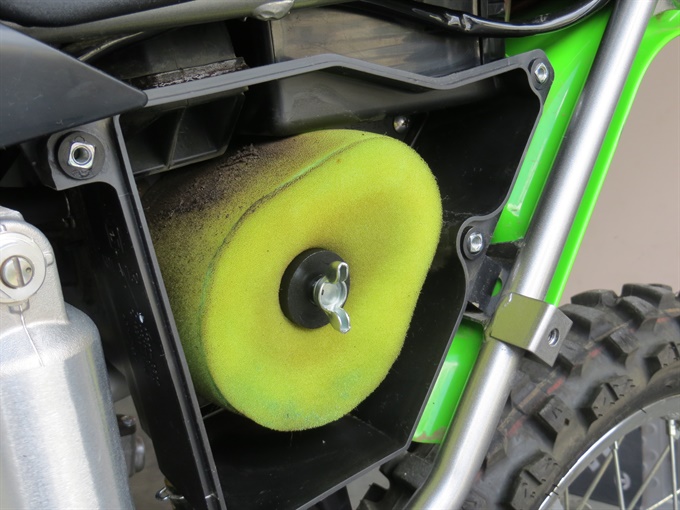
5. Inspect the air filter element. If the filter is especially dirty or dry it should be serviced.
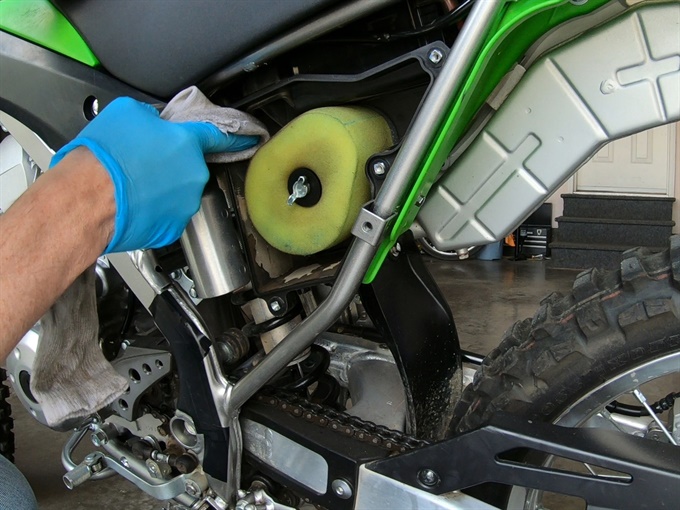
6. Clean the accessible parts of the air box with the air filter in place.
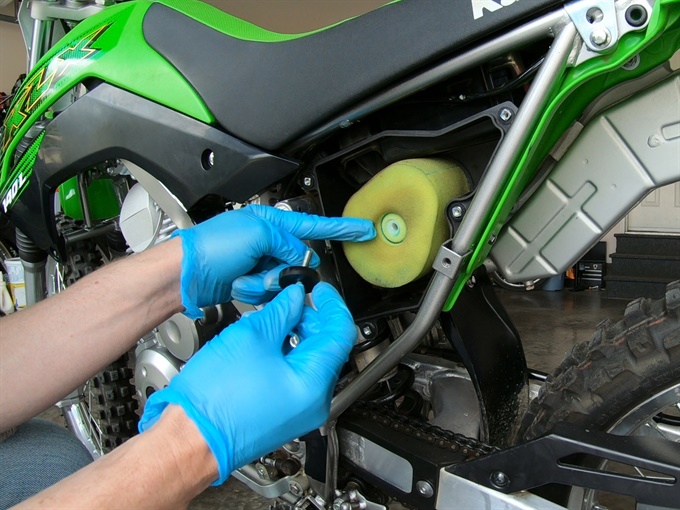
7. Remove the wing bolt that secures the air filter in place, and remove the air filter. You will need to clean the wing bolt before reinstalling the air filter.

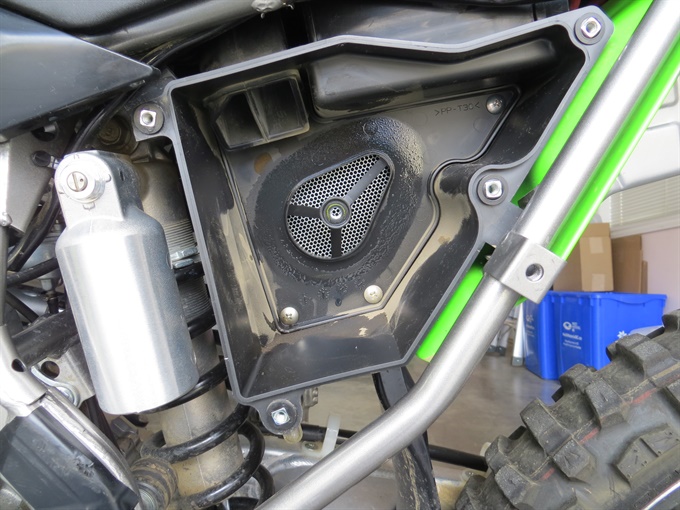
8. Inspect the air box and clean out any remaining dirt, oil or grease. Be careful not to get any dirt in any part of the air box on the clean side of the air filter; if dirt does get into this clean zone, carefully wipe it away. If necessary, you can remove the inner plate with the backfire screen by removing the 5 screws holding the plate in place. Clean the inside of the air box cover. Inspect the air box cover seal.
9. Carefully remove the supporting frame from the air filter and set aside on a clean surface, and cover it with a clean rag so it stays clean. If the frame gets any dirt on it during the process, it will need to be cleaned before reinstalling in the air filter.
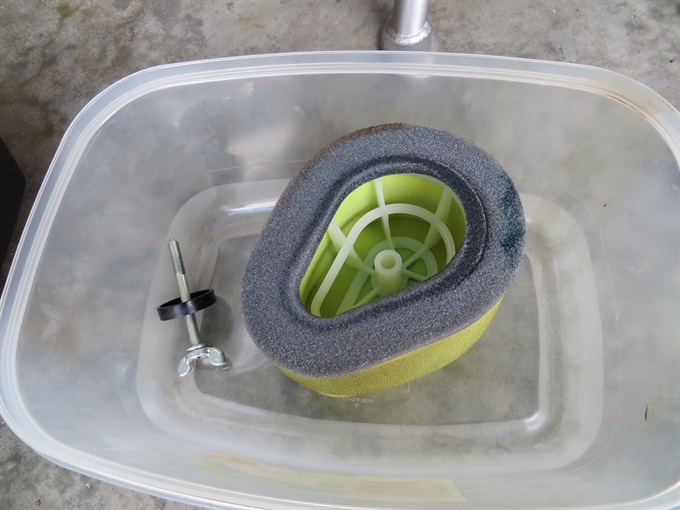

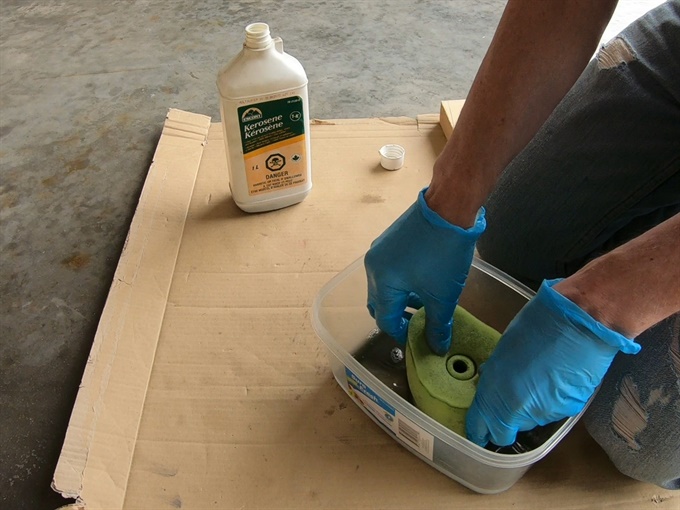
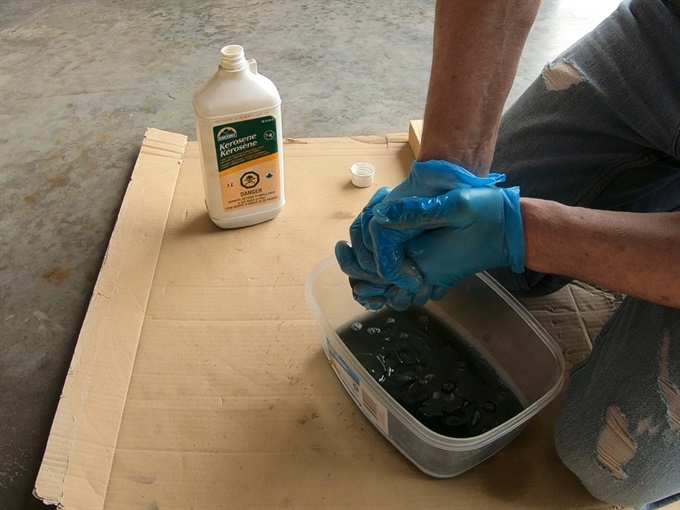
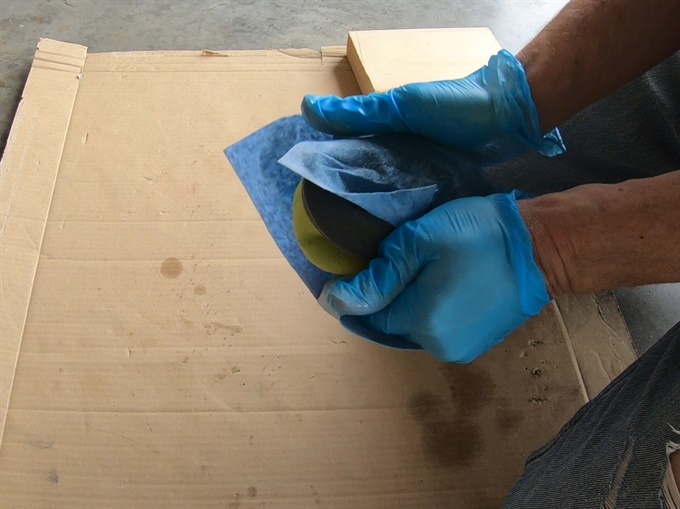
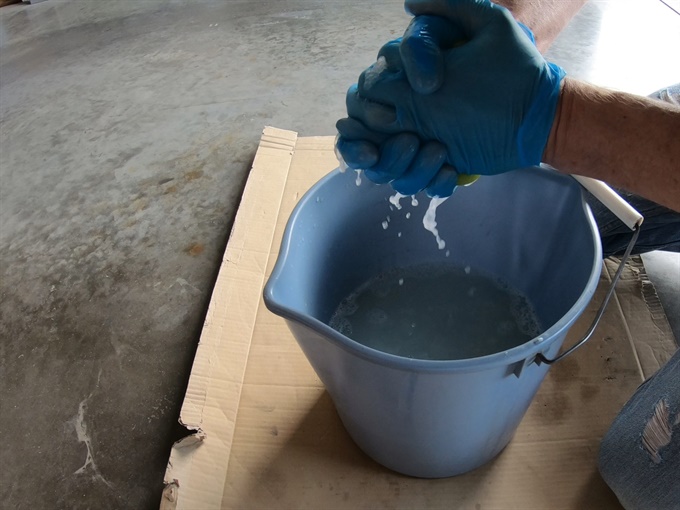
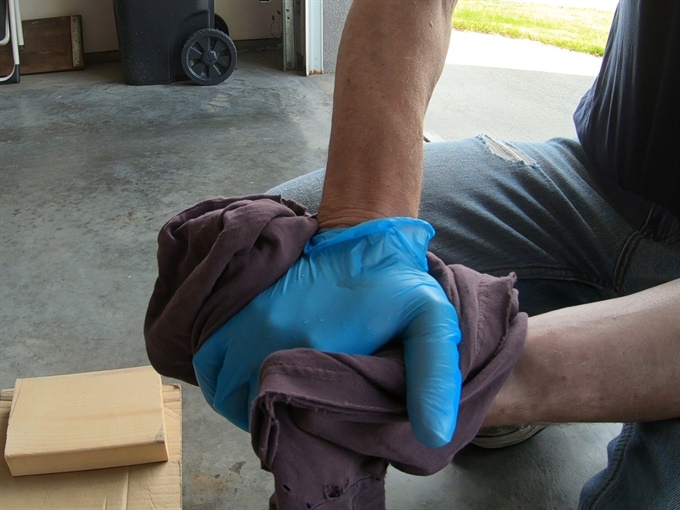
10. Assuming that the air filter has been previously coated / soaked in motor oil or an oil-based air filter oil, clean the air filter in kerosene or a suitable cleaning solution. The intent here is to remove the oil or oil-based filter oil from the foam filter as well as the majority of the dirt. The foam filter is like a sponge. Repeatedly soak up kerosene (or other cleaning solution) with the filter and then squeeze it out. Do not twist the filter or wring it out because you may end up tearing the foam, in which case the air filter will have to be replaced. Finally squeeze out as much of the kerosene (or other cleaning solution) as possible. You can wrap the filter in a clean rag or shop towels and squeeze it to remove more of the kerosene. You can additionally air-dry the filter for a day or so in a well-ventilated area out of direct sunlight.
If a non-oil-based air filter oil was previously used for the air filter, then you'll likely need to use a special air filter cleaning solution (consult the instructions on the air filter oil container).
11. After cleaning the air filter in kerosene (or other cleaning solution), wash the air filter in a bucket of mild soap and water. The intent here is to remove the remaining dirt in the filter as well as the remaining kerosene.
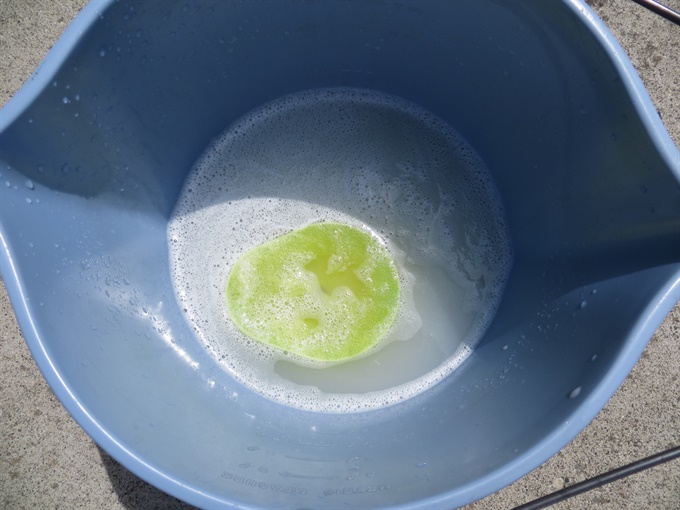
12. After washing the air filter in soap and water (or special air filter cleaning solution), thoroughly rinse the air filter in clean water. Afterwards, squeeze out as much water as possible and let air dry out of direct sunlight.
13. Clean the wing bolt and black plastic retainer/washer.
Previous | Next