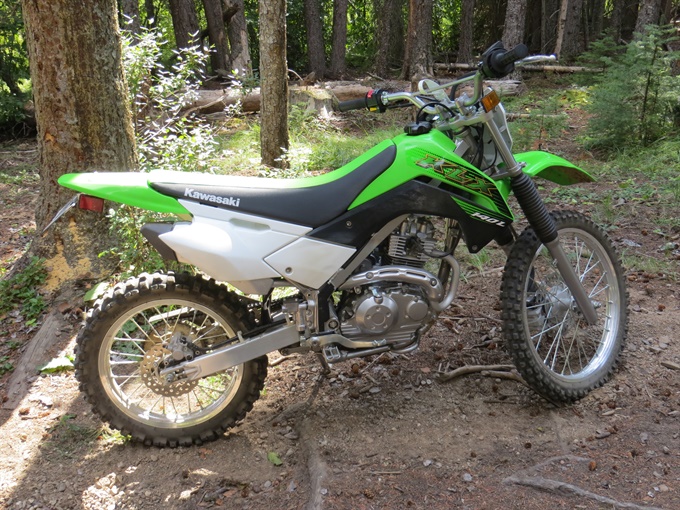
2020 Kawasaki KLX140 Chain Adjustment - Page 1
Applicable to all KLX140 versions from 2010 onwards (see below)
KLX140 Chain Adjustment Video
Article Last Updated: June 25, 2025
Next

This is a step-by-step guide to adjusting the chain on a Kawasaki KLX140. It is based on the author’s observations and experience adjusting the chain on a 2020 Kawasaki KLX140L and on information contained in the official Kawasaki KLX140 service manual, 2020 (part no. 99924-1390-14) which covers model years 2010 - 2021, and models KLX140A/KLX140/KLX140R, KLX140B/KLX140L/KLX140RL and KLX140C/KLX140G/KLX140RF. The author is not aware of any mechanical changes to the KLX140 models for the model years 2022-2025, so this guide should apply to those as well.
Disclosure: While the author has attempted to provide correct and complete information, sometimes errors or omissions may occur. By using this document and following the procedures and advice below, the user assumes all risk and responsibility for injury or damage to their motorcycle. The author has been servicing motorcycles for many years (not as a profession) and is mostly self-taught (no formal training in motorcycle servicing). It is recommended that you consult the Kawasaki KLX140 owner’s manual and/or service manual.
By learning to adjust the chain, you can save money, learn more about your bike, gain the satisfaction of maintaining your bike yourself, as well as saving yourself a lot of inconvenience. There is nothing technically challenging about the procedure. Use the correct tools and supplies for the job, and take your time. Read all of the instructions before beginning.
Given how often the chain on this bike will likely need adjustment because it isn't an O-ring chain, it only makes sense to adjust the chain yourself. Some motorcycles require very infrequent chain adjustment depending on how the motorcycle is ridden and how the chain is maintained, but this isn't one of them.
Supplies you may need
- a new cotter pin for the rear axle nut
- rags and/or shop towels
- disposable gloves
- chain lube or gear oil
Tools you need or may find helpful
- torque wrench accurate at 79 N.m (58 ft-lb)
- 17 mm socket and ratchet, or 17 mm wrench, for left end of axle
- 19 mm socket, and flex-bar or long-handled ratchet, for axle nut
- 10 and 12 mm open-ended wrenches for chain adjusters
- needle-nose pliers, if removing cotter pin from axle
- small ruler for measuring chain slack
- motorcycle jack or stand (or trail stand, scissor jack or section of 2x4) to raise rear wheel off ground / unload rear suspension
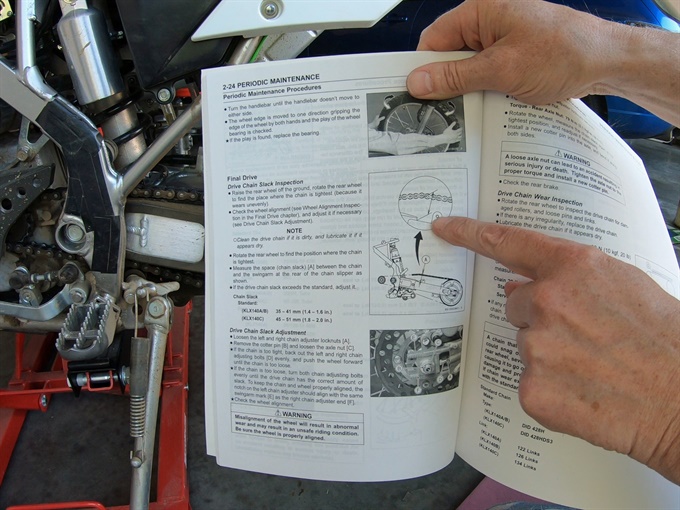
Information from Kawasaki KLX140 Service Manual

Chain Slack
KLX140A / KLX140 / KLX140R (model with 17”/14” wheel combination):
35 - 41 mm (1.4 - 1.6 in.)
KLX140B / KLX140L / KLX140R L (model with 19”/16” wheel combination):
35 - 41 mm (1.4 - 1.6 in.), same as KLX140A
KLX140C / KLX140G / KLX140R F (model with 21”/18” wheel combination):
45 - 51 mm (1.8 - 2.0 in)
Rear Axle Nut Torque Spec: 79 N.m (58 lbf-ft)
Notes from service manual
- Clean the drive chain if it is dirty, and lubricate it if appears dry (or kinked).
- Raise the rear wheel off the ground and rotate it to find the tightest point in the chain.
- Measure the space between top of the swingarm (at end of chain slipper) and underside of chain above.
- Ensure proper wheel alignment.
- Tighten axle nut to spec., and then verify correct chain slack and readjust if necessary.
- Install a new cotter pin.
Go to the next page for more detailed instructions and photos.
Next