2022 Honda CRF250F Oil and Filter Change - Page 3
Previous
13. Pull the oil filter off the oil filter cover and inspect the outside of the filter for debris. It's normal for the filter to look dark and contain very tiny metallic bits (sparkles). If you find other material or large metal bits, etc., it may be an indication of a problem in the engine. It may also be clutch plate material or debris left over from the manufacturing process such as metal shavings or bits of sealant if this is the first oil change. If you're unsure or concerned, take the oil filter and material to the service department at a trusted bike shop for their opinion. I didn't see any debris on the oil filter of this bike at the first oil and filter change, but I have seen it on other bikes (the KLX250S I had comes to mind).
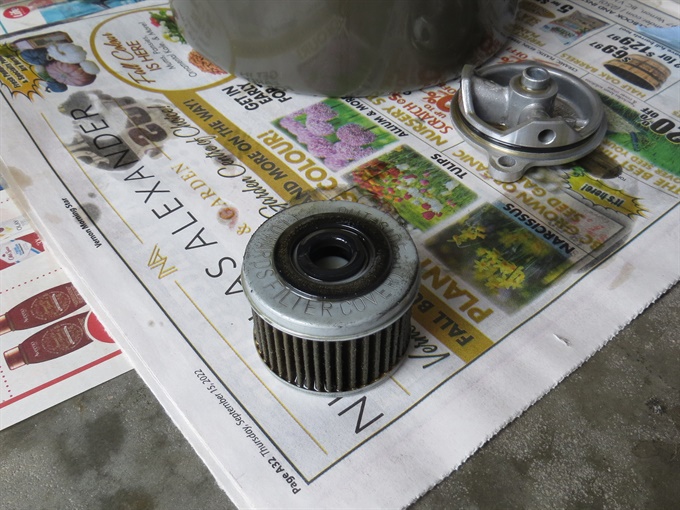
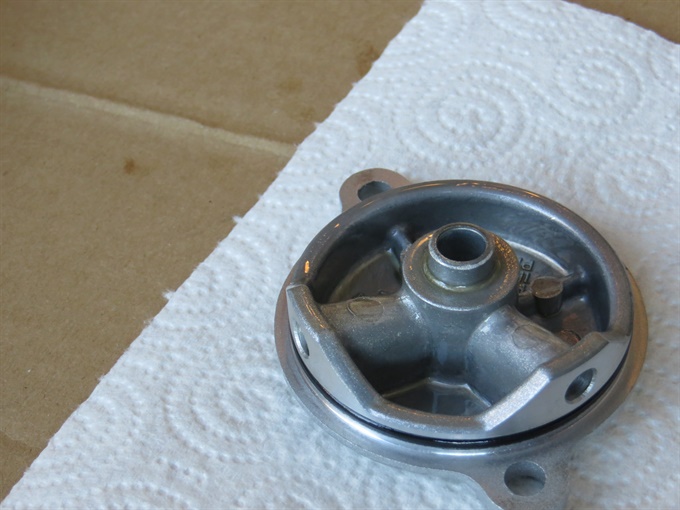
14. Especially if there is any grime along the oil filter cover O-ring (or the outer internal part of the oil filter cover), remove the O-ring from the oil filter cover and clean it and the groove that the O-ring sits in and the adjacent surface. Inspect the O-ring. If it looks to be in good condition (no signs of damage or deterioration, and it is still pliable), you can likely reuse it although the service manual states to use a new one. I advise to replace it at some point (you should have one on hand). Install the O-ring into the groove on the oil filter cover and set the cover aside.
15. If there is oil in the oil filter cavity, you can tip the bike to the right side to allow it to drain out, but be careful not to lose the spring (remove it first if it is loose). With a clean rag or shop towel, wipe out any sediment from the oil filter cavity. Also wipe the oil filter cover sealing surface of the engine.
16. Install the oil filter spring if you removed it, otherwise ensure that the spring is in position in the back of the oil filter cavity. Apply a bit of clean engine oil to the oil filter cover O-ring if you previously wiped it or installed a new one, and ensure that the O-ring is in position on the oil filter cover.
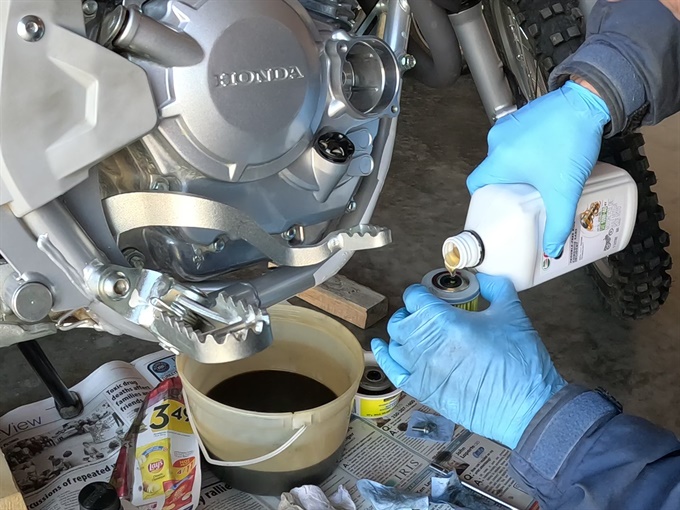
17. I choose to pour clean motorcycle oil into the new oil filter to prime it somewhat; some people say not to do this because the oil has not been filtered. I would think that new oil right out of the bottle is likely cleaner than it will ever be, but you decide. Coat the rubber seal (grommet), and then insert the filter into the engine with the "OUT-SIDE" mark facing outwards (the same side with the hole and grommet). Alternatively, you can install the oil filter and cover together (see next step).
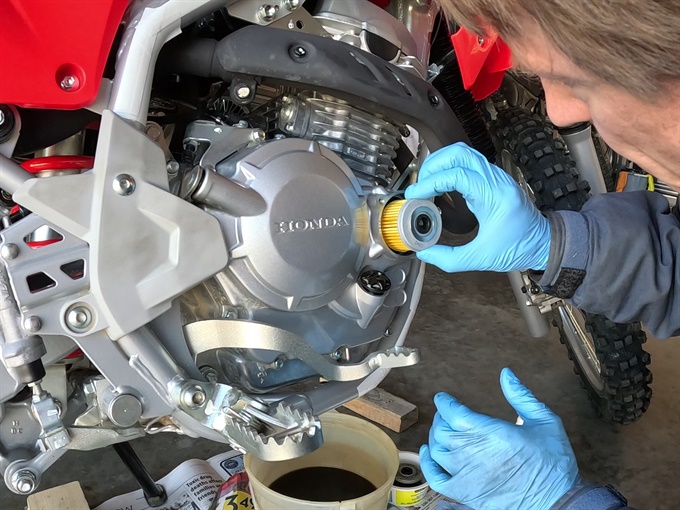
18. Align the oil passages in the oil filter cover with those in the engine, and push the cover into place. The bolt holes in the oil filter cover will only lineup with the holes in the crankcase cover when the oil filter cover is oriented correctly. Insert and hand-tighten the two bolts that secure the oil filter cover. With an accurate torque wrench, tighten each bolt to about 6 N.m. Then tighten each bolt to 12 N.m (service manual torque specification).
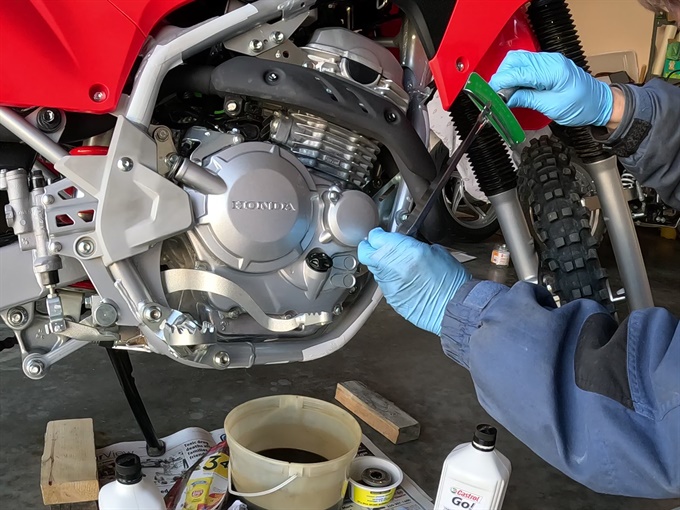
Add Oil To Engine And Check The Level
19. If you haven't already done so, clean around the oil filler cap/dipstick. Remove the oil filler cap/dipstick. It can be difficult to loosen-up the oil filler cap/dipstick by hand, so you may need a tool of some sort to make it easier. I use a Motion Pro timing plug wrench. You can see in the photos above that I have already loosened up the oil filler/dipstick. There is an O-ring on the cap. Clean around the edge of the cap as well as around the oil filler hole. Also, clean and inspect the O-ring. Replace the O-ring if it's deteriorated or if it has been leaking. The O-ring will require a thin coat of engine oil before screwing the oil filler cap/dipstick in.
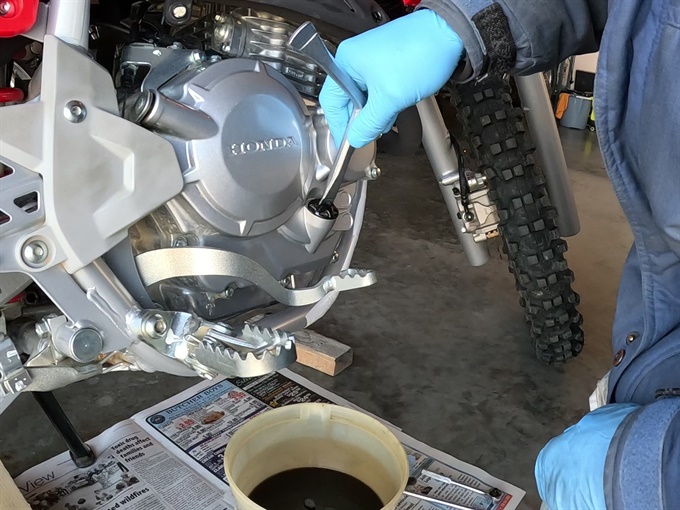
20. Using a clean funnel (or just by being careful), pour the recommended oil into the engine up to the full mark (see page 1 on how to check the oil level). Do not overfill; if you do overfill the engine with oil by accident, remove excess oil by carefully draining some oil out through the oil drain hole (remember to properly tighten the oil drain bolt afterwards), or by removing oil through the filler hole with a syringe (I haven't tried this). If there is too much oil in the engine, it may become aerated (full of bubbles) and the oil lubrication system may be less effective. Also, crankcase pressure may become excessive leading to oil leaks.
Remember, the motorcycle must be upright (vertical) on level ground when checking the oil level. To check the oil level, install the oil filler cap/dipstick in the oil filler hole after wiping it off, but do not screw it in; hold the motorcycle vertical for a moment, and then set it back down on its side stand; remove the oil filler cap/dipstick and check the level on it.
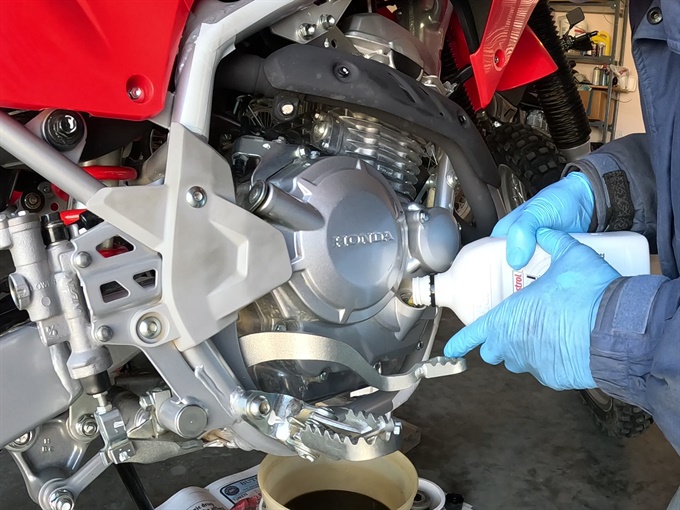
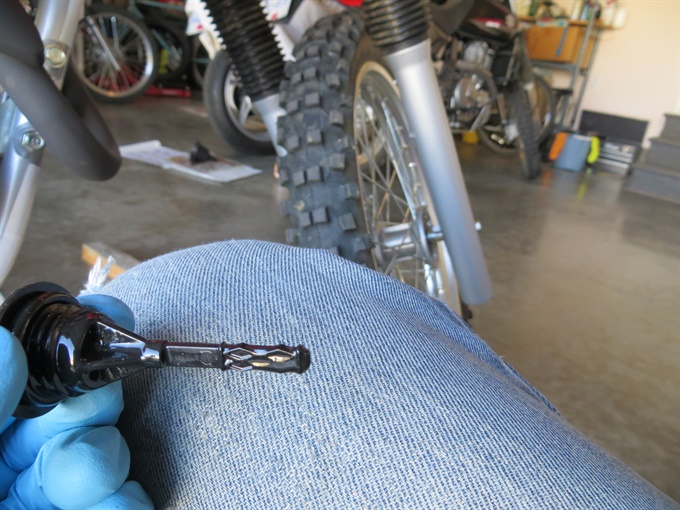
21. Install the oil cap/dipstick with its O-ring (apply a thin layer of engine oil to the O-ring first). Clean up any spills or mess on the bike.
22. Start the engine and let it run at idle speed for a few minutes (3-5) to circulate the fresh oil and to check for oil leaks.
23. Stop the engine. Wait for 2-3 minutes, and then check the oil level. Add oil if the level is low, but don't exceed the upper (max) level mark.
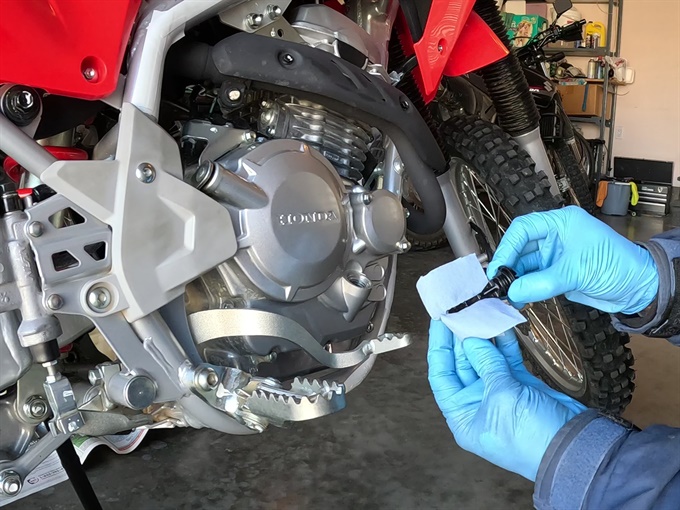
24. Clean up. Pour used oil into containers. Examine the bottom of the drain pan or pail for possible debris from the engine. Dispose of the used oil responsibly (take it to a recycling facility or depot).
All done!
Previous