2022 Honda CRF250F Oil and Filter Change - Page 2
Previous
Next
Road and Trail Guide
If the motorcycle is really dirty, I recommend that you wash it first, or at the very least, clean around the following areas: oil filler cap, oil filter cover and oil drain bolt.
1. Gather your tools, parts and supplies.
2. Start the engine and let it run for a few minutes to warm the oil and resuspend any sediment. Shut off the engine.
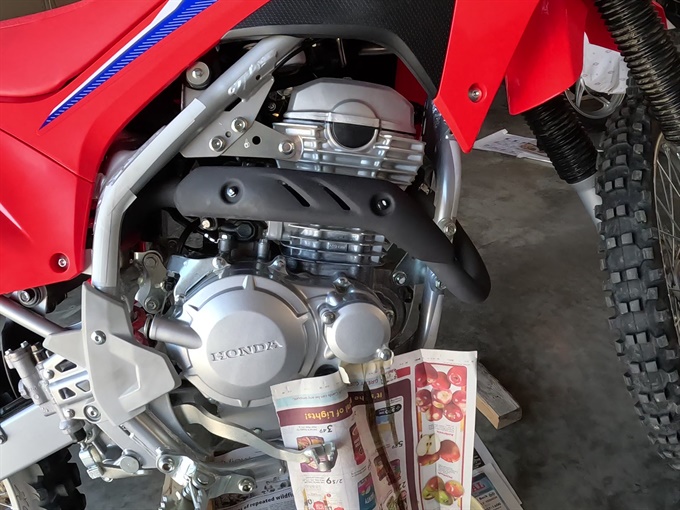
3. Spread newspaper or cardboard under the engine to protect the floor from oil spills.
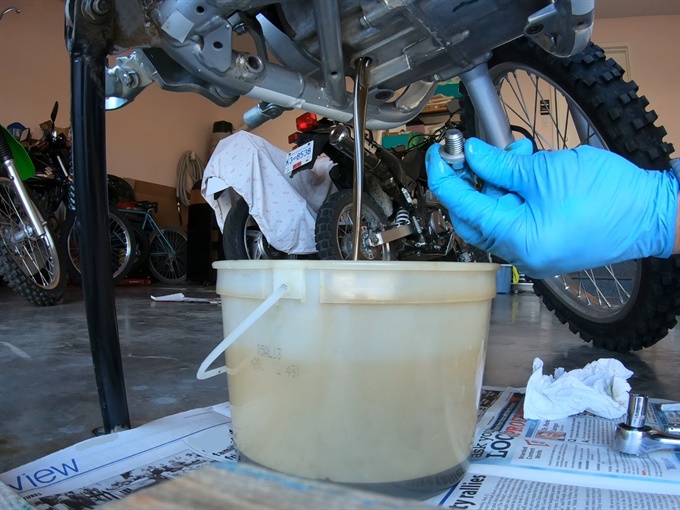
4. Place an oil drain pan or pail below the engine oil drain bolt.
Some sources say to remove the oil filler cap before draining the oil from the engine to allow air in to aid in the draining of the oil; I've found that it doesn't make much difference, at least with the motorcycles that I've changed the oil on. Do what you prefer, but clean around the oil filler cap before loosening it (see step 19 on the next page).
5. With a 12 mm socket and a ratchet, loosen the engine oil drain bolt. With a gloved hand, remove the drain bolt and sealing washer. Sometimes the sealing washer will stick to the engine; you can use a small flat blade screw driver to loosen it before the drain bolt is completely removed so that it comes off with the drain bolt instead of falling into the pail of oil.

6. Let the oil drain as much as possible. To increase the amount of oil that is able to drain, tip the bike to both sides. Make sure that the drain pan or pail is in position to catch the oil. Repeat this a few times.
7. Note any differences in the surfaces of the sealing (crush) washer and then remove it from the engine oil drain bolt. If the sealing washer is in good condition, and you are planning to reuse it, wipe it off and later install it in the original orientation (same side making contact with the engine). The service manual states to use a new sealing washer (crush washer). In my experience it's fine to reuse a crush washer with an oil drain bolt as long as it still looks to be in good condition. Replacement crush washers are often much cheaper to buy in quantity from another source than to buy them as an OEM part from a motorcycle dealer.
8. Clean off the engine oil drain bolt and install a new sealing washer on it, or the original one (in the same orientation as before) if you're reusing it.
9. Once the oil has mostly drained (it might still drip for a while if you continue to wait), wipe the drain bolt sealing surface on the engine to remove any dirt or sediment, and install the oil drain bolt with the sealing washer by hand until tight. With an accurate torque wrench, tighten the drain bolt; the service manual specifies a torque value of 24 N.m (18 lbf.ft). Don't exceed this amount.

If not replacing the oil filter, skip ahead to step 19 on the next page, and add fresh oil to the engine.
Oil Filter Replacement
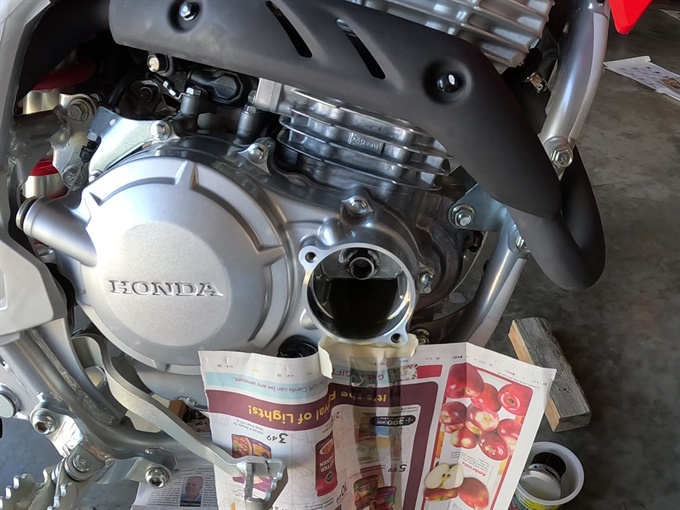
10. Position the oil drain pan or pail below the oil filter cover.
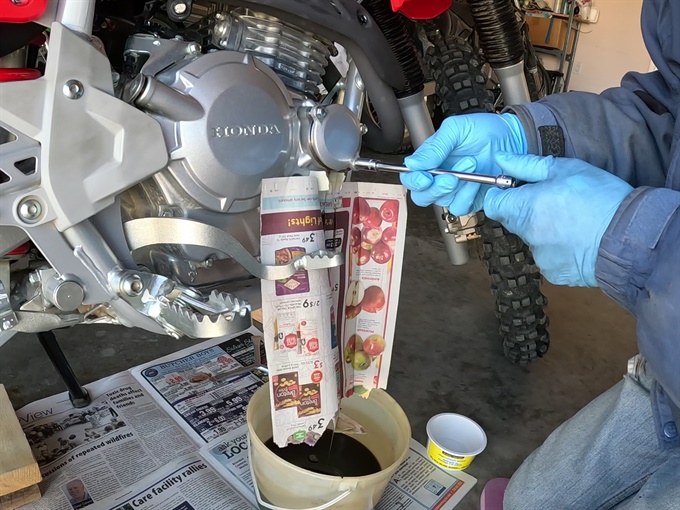
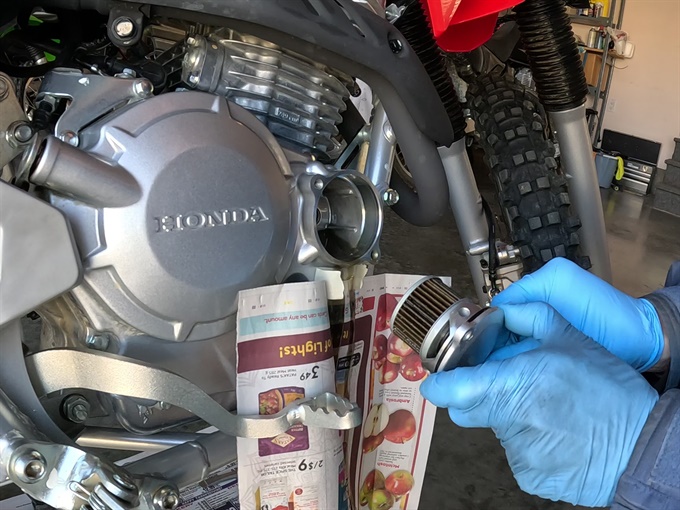
11. Tape some newspaper to the engine cover just below the oil filter cover to redirect any oil, that may run out when opening the cover, to the drain pan or pail. This helps to reduce the amount mess.
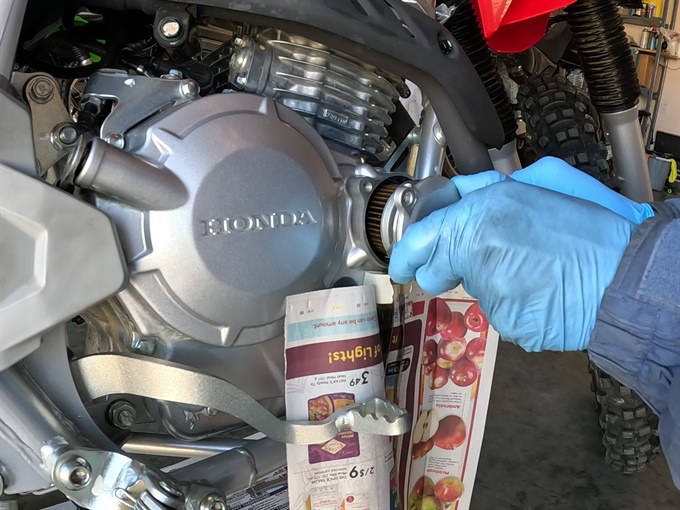
12. Remove the oil filter cover. With an 8 mm socket, an extension (I use a 6-inch one) and a ratchet (I use a 1/4-inch drive), loosen the two bolts securing the oil filter cover on the right-side engine cover. Oil will likely dribble out. Completely remove the two bolts while holding the cover just in case it pops off otherwise. There is a spring behind the oil filter. Be careful not to lose the spring behind the oil filter when the filter is removed from the engine. The spring has remained in position each time I have replaced the oil filter. There is an O-ring set in a groove on the outside of the internal portion of the oil filter cover. Remove the oil filter cover and oil filter (they'll likely come off/out together).
Next
Previous